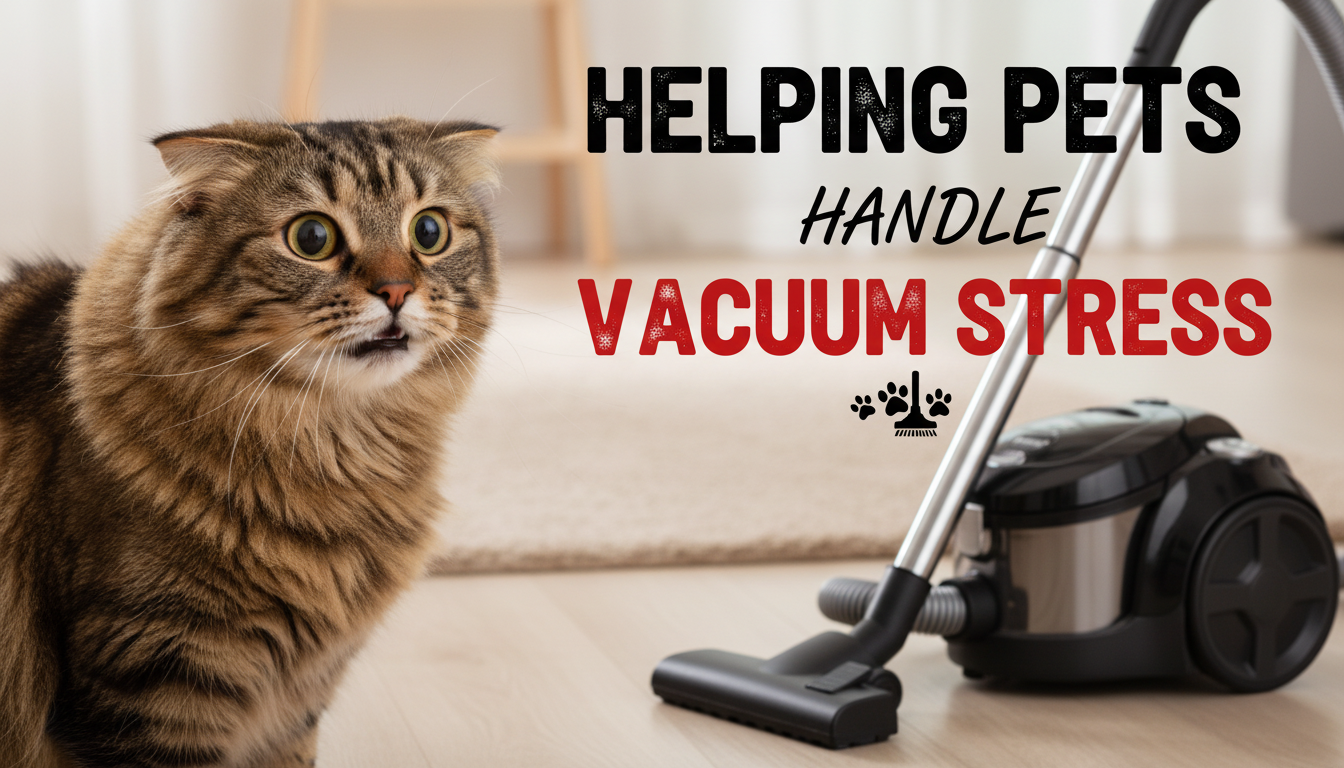
Vacuum noise, movement, and unfamiliar vibrations can trigger fear in cats and dogs—leading to hiding, barking, swatting, or stress behaviors that linger after cleaning ends. A few small changes to setup, timing, and training can make vacuuming safer and quieter for everyone, while protecting your pet’s confidence at home.
To people, a vacuum is an annoying chore. To many pets, it’s a loud, fast, unpredictable object that “invades” their space. Common reasons include:
Fear doesn’t mean your pet is “being dramatic.” It’s a normal survival response—so the goal is to lower intensity, increase predictability, and teach a better association over time.
Catching early signs helps you avoid pushing your pet past their comfort threshold.
| What you notice | What it can mean | What to do next |
|---|---|---|
| Pet leaves the room calmly | Mild discomfort | Let them choose distance; keep doors open if safe and continue quietly |
| Shaking, hiding, refusing treats | High fear level | Stop vacuuming; switch to management (separate room, white noise) and restart training later |
| Barking/lunging or swatting | Over threshold; risk of injury | Create a barrier and increase distance; consult a qualified trainer/behaviorist if repeated |
Management isn’t “giving in.” It prevents repeated panic while you build new skills.
For guidance on humane training approaches and why punishment can worsen fear, see the American Veterinary Society of Animal Behavior position statements: https://avsab.org/resources/position-statements/.
This plan works best when sessions are short, frequent, and easy. The goal is calm, not “toughing it out.” If your pet shows stress, the vacuum is too close, too loud, or too fast.
Place the vacuum in the room (not moving). The moment your pet calmly looks at it, reward with tiny treats or a favorite toy. End while your pet is still relaxed.
Roll the vacuum a short distance, then stop and reward. Keep sessions brief (1–3 minutes) and repeat over days. Small, successful repetitions beat long “marathon” attempts.
Important: Progress is measured by calm behavior, not by how close the vacuum can get. Never force approach or trap a pet near the vacuum. For more on fear signals and training foundations, the American Kennel Club overview is a helpful starting point: https://www.akc.org/expert-advice/training/dog-fear-anxiety/.
If stress spills over into other household situations, it can help to review broader behavior patterns. Cornell’s feline behavior overview is useful for cat households: https://www.vet.cornell.edu/departments-centers-and-institutes/cornell-feline-health-center/health-information/feline-health-topics/behavior-problems-cats.
For a guided approach and ready-to-use strategies, consider Helping Pets Handle Vacuum Stress.
If you’re building household routines around a new pet (including sound training from day one), Are You Ready? Pet Adoption Decision Workbook | Printable Pet Adoption Guide can help you plan expectations, schedules, and stress-reducing habits before problems start.
Many pets improve in days to a few weeks with short, consistent sessions, but strong fears can take longer. The pace depends on staying under your pet’s threshold and increasing sound/movement gradually.
Fearful pets do best in a safe zone with a barrier, masking noise, and something enjoyable to do. Pets that remain relaxed can stay nearby, but any stress signals mean you should increase distance or separate them.
Prioritize safety: stop the session, add a barrier or use a leash at a distance, and avoid punishment. Restart training at a much lower intensity, and seek professional help if the behavior repeats.


Leave a comment